Licensed work
Refrigerant, vacuum, and dedicated electrical work belong with a licensed HVAC pro. Homeowner planning stops at mounting and the line set.
How-to
DIY Mini Split Installation: What You Can Mount
Classic AmericaOct 30th 20263 min read
The short answer
- You can choose the spots, mount the wall plate, drill a sloped hole, and set the outdoor unit yourself.
- Flares, refrigerant, the nitrogen test, the vacuum, and opening the service valves are jobs for a licensed HVAC pro.
- The dedicated circuit is a job for a licensed electrician, even on a 115V head.
- You're covered for 5 years on the compressor and 1 year on parts, but a non-professional install can put that at risk.
What you can mount
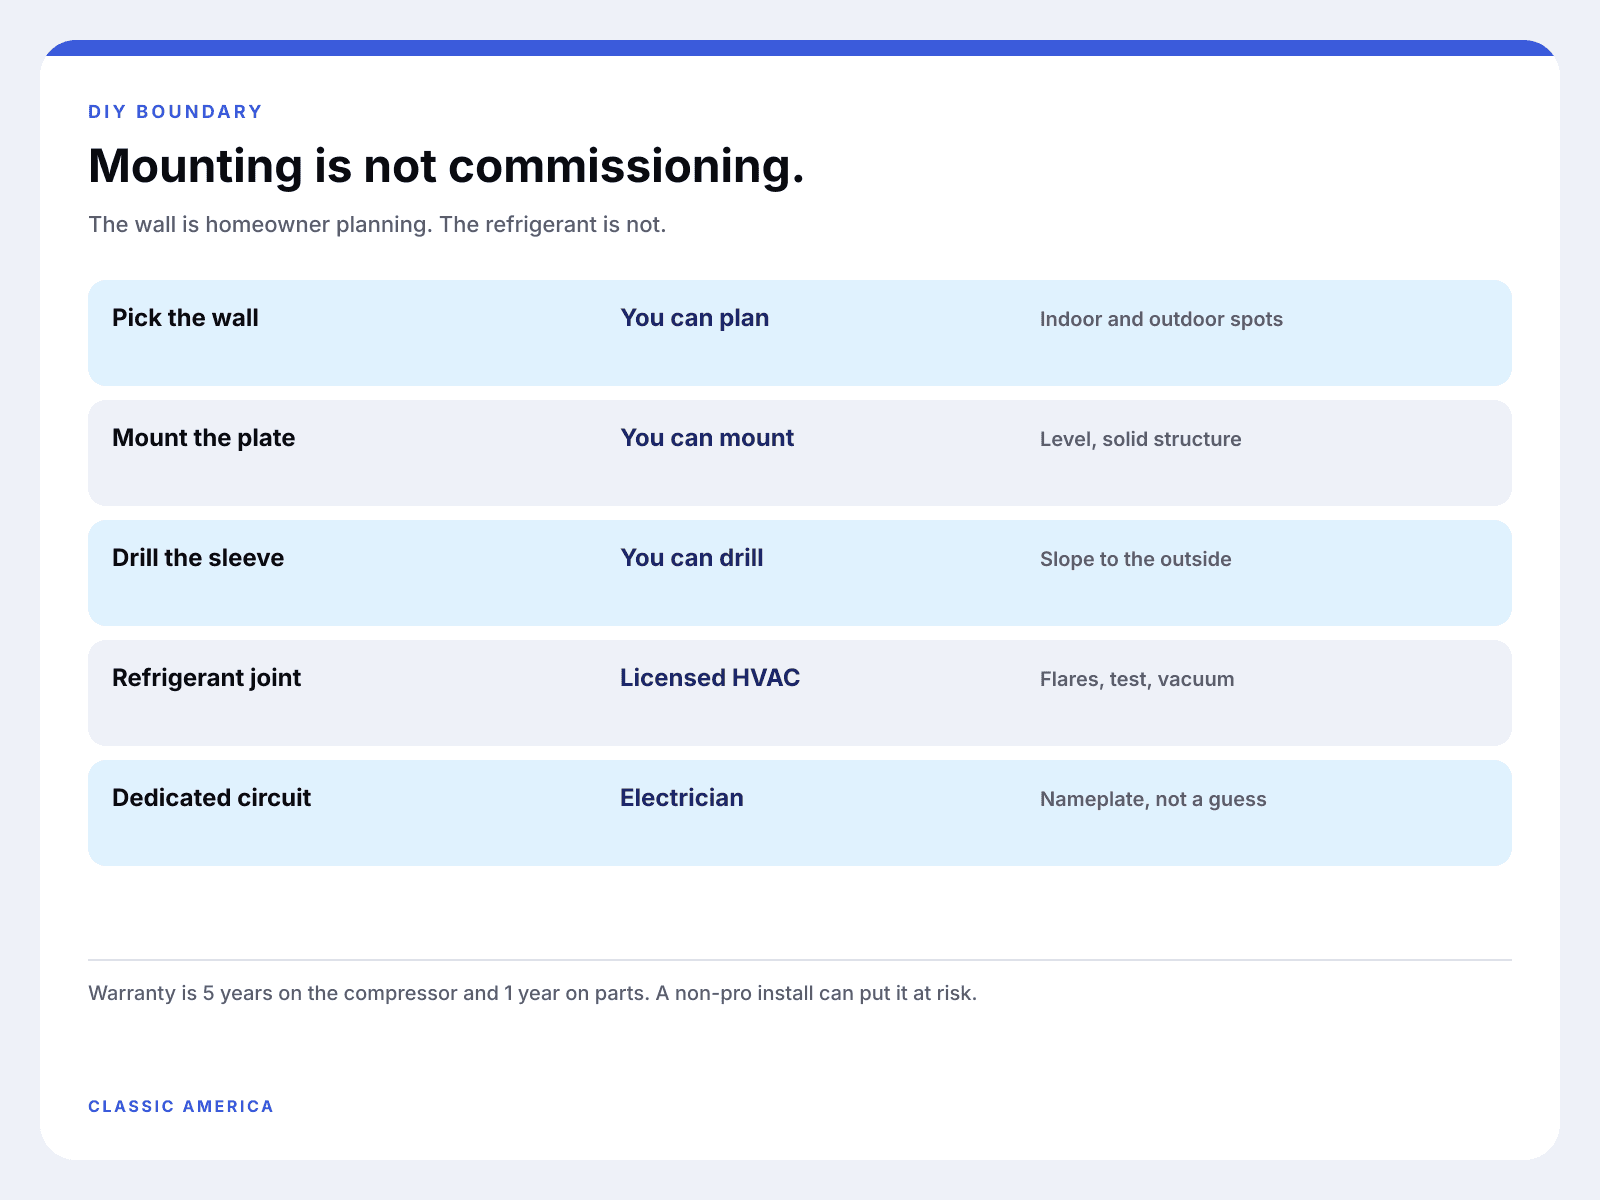
Lots of people look into DIY mini split installation, and it makes sense: the box includes the hardware, and the indoor unit hangs on a plate. That part is mechanical, and it's the part homeowners most often do well. Find a stud, level the plate, slope the wall hole so condensate drains out, and set the condenser on a pad or bracket with good airflow around it. Before you drill, the Install Planner checks line-set length, voltage, and mounting against your model.
| Step | Who | Why it sits there |
|---|---|---|
| Choose indoor and outdoor locations | You | Clearance, noise, and the line-set path |
| Mount the wall plate | You | Level, into structure |
| Drill the wall and fit the sleeve | You | Slope down toward the outside |
| Route the line set and set the condenser | You, if you are equipped | Do not kink the copper |
| Flare, test, vacuum, open valves | Licensed HVAC | A bad joint leaks refrigerant |
| Dedicated circuit and disconnect | Licensed electrician | Nameplate MCA and breaker |
What is not a DIY refrigerant job
Your system ships with a refrigerant charge for a stated line length. Connecting the lines, pressure-testing with nitrogen, pulling a deep vacuum, and then opening the service valves is what keeps that charge in a clean, dry system. Those steps take gauges, a vacuum pump, and a license. If the vacuum is skipped or cut short, moisture stays in the system, and moisture damages the compressor. We won't walk through flare torque, micron targets, or valve sequences here, since that's the technician’s procedure from your model’s installation manual.
From the spec sheet
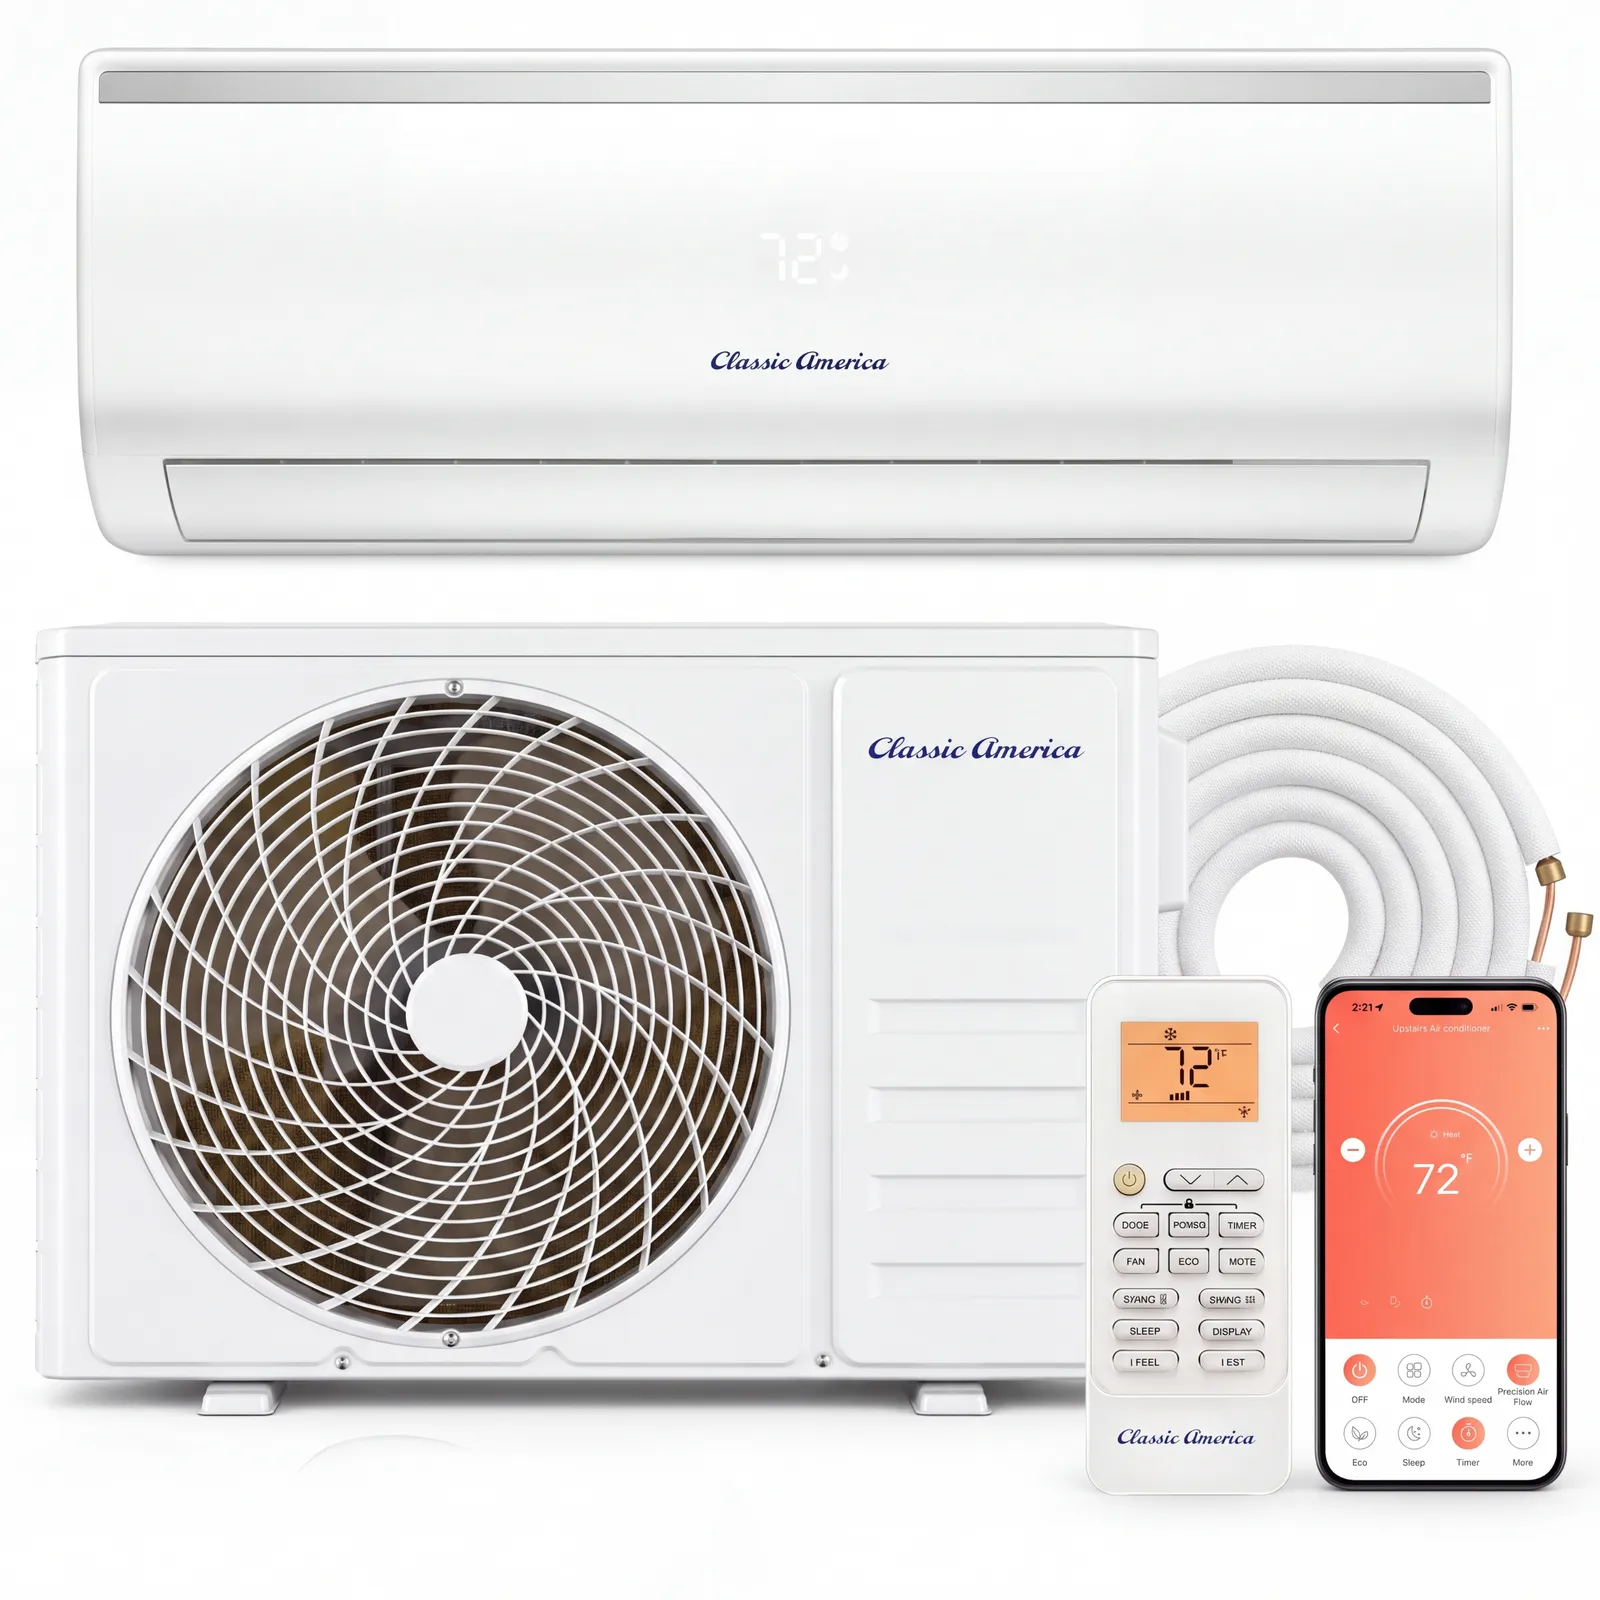
- 9,000 BTU/h cooling · 0.75 ton
- 23 SEER2
- 115V
- Up to 400 sq ft
- Heating nameplate 9,500 BTU/h
From the spec sheet
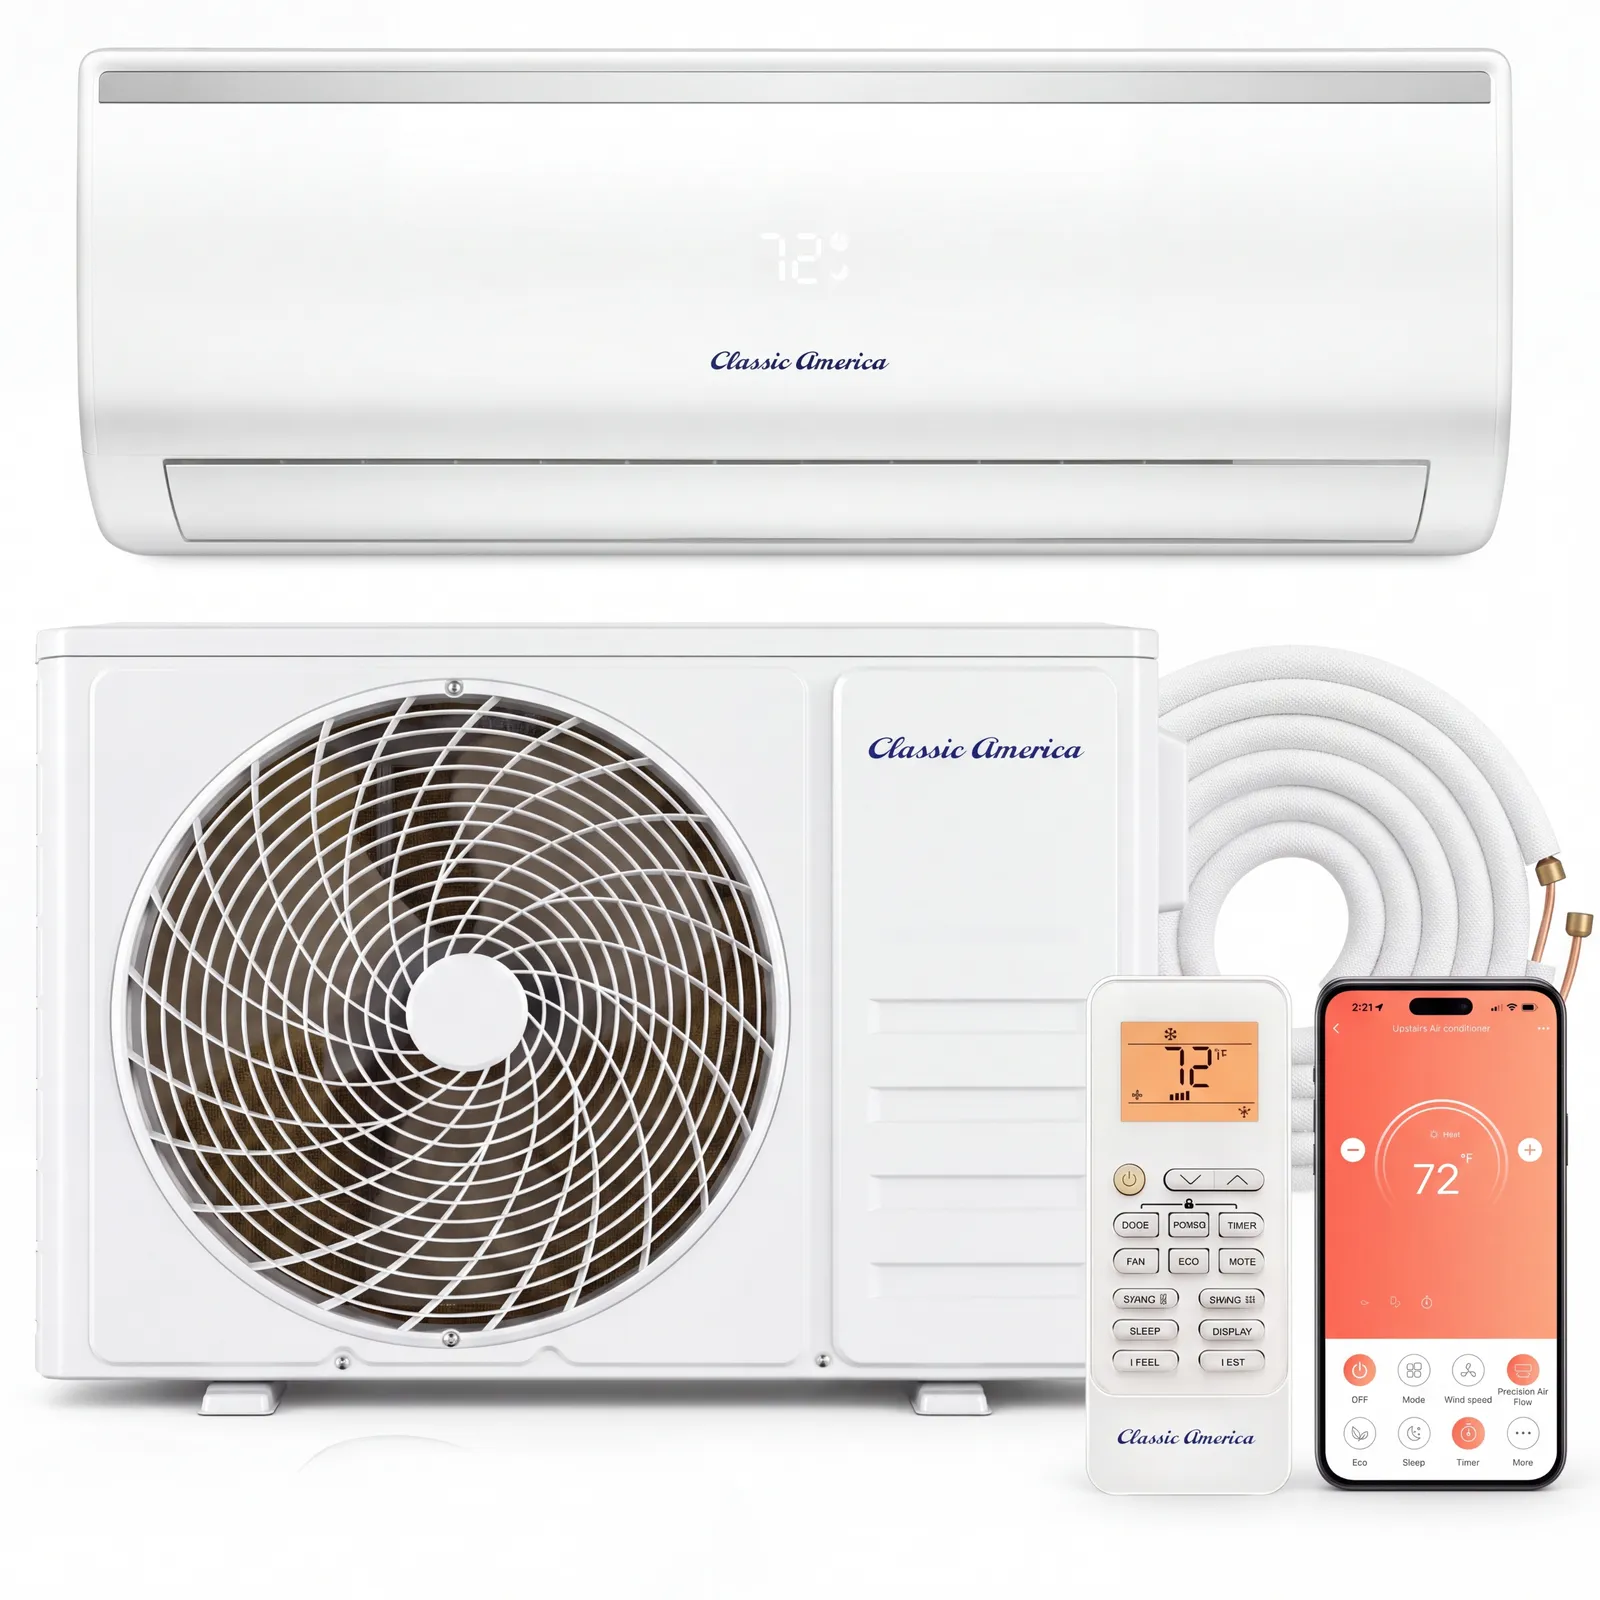
- 12,000 BTU/h cooling · 1 ton
- 19 SEER2
- 115V
- Up to 550 sq ft
- Heating nameplate 12,200 BTU/h
Where to find your model's steps
- Installation manuals for every model are on the manuals page.
- The delivery and installation guide covers the pallet and what a pro install includes.
- If you see an error code after startup, check the error code list. Refrigerant and circuit board faults are for pros only.
Electrical is the other licensed line
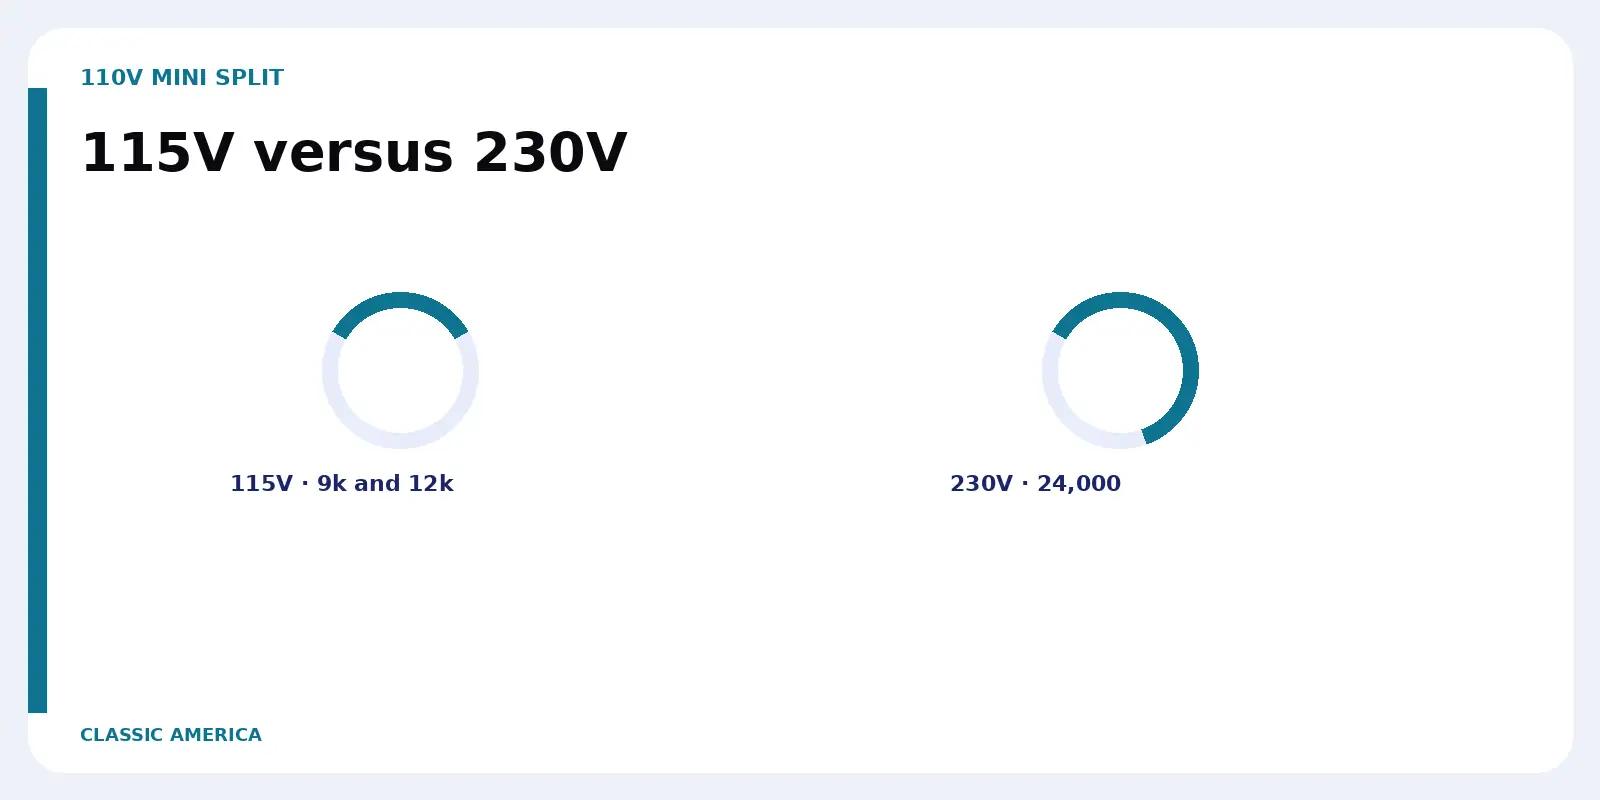
Our 9,000 and 12,000 BTU heads are 115V, but that doesn't mean they plug into any outlet on the wall. The nameplate calls for a dedicated circuit. To see what to hand your electrician (without a how-to), check out the 115V wiring diagram. The 23,000 BTU head and DUET are 208/230V, and the same rule applies: please don't wire that circuit yourself.
Your warranty depends on the install
- We strongly recommend a licensed HVAC professional.
- It's rare, but Classic America may refuse to honor the warranty if the unit wasn't professionally installed.
- You're covered for 5 years on the compressor and 1 year on parts. Classic America strongly recommends a licensed HVAC install and may refuse the warranty if the unit wasn't professionally installed.
- A cheaper labor quote that skips the vacuum isn't a savings. It's an unfinished system.
Plan the wall, then hire the rest
If you haven't settled on a size yet, start with the Size Finder. Then use the Install Planner and check what’s in the box, so your technician isn't missing a sleeve or a longer line set on install day. Published US install ranges (not our prices) are in mini split AC installation cost. Have a product question? We're happy to help at 1-800-349-4360 Ext. 204.
FAQ
Common questions
Can I install a mini split myself?
You can mount the plate, drill the sleeve, and set the outdoor unit. The refrigerant connections, the vacuum, and the dedicated electrical circuit are jobs for a licensed HVAC pro and a licensed electrician.
Will a DIY install void the warranty?
You're covered for 5 years on the compressor and 1 year on parts. Classic America strongly recommends a licensed install and may refuse the warranty if the unit wasn't professionally installed.
Is a 115V mini split a plug-in DIY project?
No. Our 115V models still need a dedicated circuit sized from the nameplate. Plugging into a shared outlet isn't what the spec sheet calls for.
What should I have ready for the technician?
Your model, both mounting locations, the line-set length from the Install Planner, and a path for the condensate. You can confirm the kit length in our line set length guide.